How to Upcycle a Glass Vase to Look Like Clay
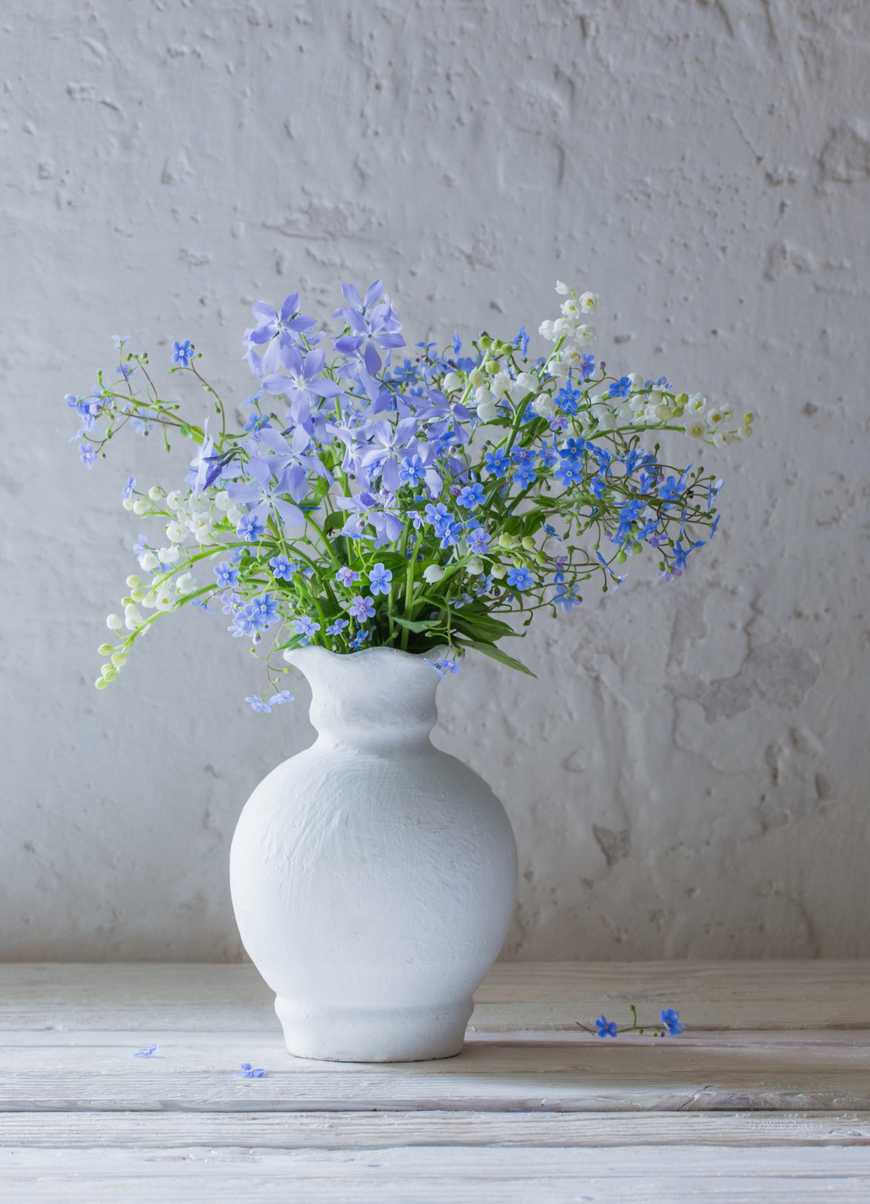
Matte finishes are on trend, especially for plant pots, vases and other home décor. Baking soda will turn any acrylic paint into a textured paint that will transform an everyday mason jar, thrift store glass vase, or ordinary bottle into a chic, elegant showpiece.
Whether you’re making a home for your succulents, adding visual interest to shelves, or flexing your DIY crafting skills, upcycling old glass containers is an easy and inexpensive way to create something beautiful out of something discarded. Everyone has a florist vase or two hiding in their cabinets, and if you’re one of the few who do not, your local thrift store has plenty. These glass vases are functional but not beautiful – until you paint them to look like high-end clay pottery. So grab your supplies and in a few minutes of painting, you’ll have transformed the blah and basic into something bold and beautiful.
How to Make Textured Baking Soda Paint
For a beautiful matte finish that makes ordinary glass look like ceramic pottery, add 1 tablespoon baking soda to any color water-based paint and mix thoroughly. Use acrylic or latex paint only (oil-based paint will not work). Apply to a clean glass surface with horizontal brush strokes.
- 1 cup water-based paint in your desired color (acrylic or latex)
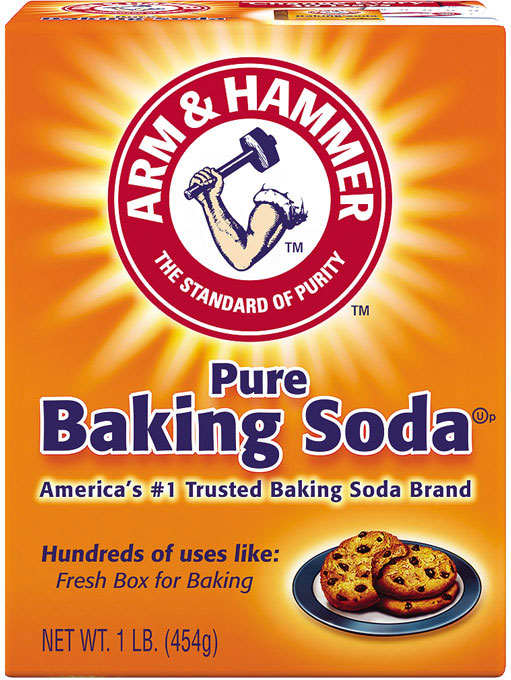
- 1 tablespoon of ARM & HAMMER™ Baking Soda per cup of paint
- A small bowl or container to mix the paint in
- Spoon or craft stick to mix the paint
- Paint brush – either foam or traditional bristled
- Glass vase, bottle or jar
- Soap and water to clean the vase and a lint-free towel to dry
For even thicker textured paint that will build up on the surface and can be sculpted or patterned, add up to 4 teaspoons baking soda per cup of paint.
Watch on TikTok
Step 1: Select Your Glass Items to Upcycle with Paint
Any glass container can be turned into a modern art piece with textured baking soda paint. Pull vases from the back of cabinets or hit up garage sales and your local thrift stores. You can also purchase inexpensive plain glass containers at dollar stores or save the jars from your tomato sauce, pickles or other foods. Your items can be ceramic or glass, in any color, clear or opaque, with a glossy or flat finish.
What to look for in objects to paint with baking soda:
- Interesting and varied shapes. Think short or tall, round or square, items with flared tops, long necks, flat fronts or bulbous, etc. If you’re painting more than one item, look for pieces that complement each other and look interesting as a collection.
- A variety of sizes. You can paint 3 oz cups, vases that hold a half-gallon, or pots that hold a handful of soil to a bucket-full. Larger items will require more paint.
- Different uses. Will your items be for display or will you use them for storage or organization? Tall, skinny vases work great for cut flowers or to store art supplies. Jars with wide openings can hold utensils or toiletries. The possibilities are endless!
Some glass painting ideas to try:
- Mason jars of various sizes. Mason jars are the ultimate for shabby chic and rustic farmhouse styles. Note: depending on how much paint you apply, you might not be able to use the lids any longer, and painted jars are not food safe. Instead of lemonade and jam, try dried flowers, utensils, makeup brushes, and more.
- Florist vases. From single bud vases to large arrangements, florist vases come in many shapes and sizes. A basic vase from Valentine’s long past can look like expensive terracotta pottery when you upcycle it with baking soda paint.
- Unusual shaped bottles or jars. Got an old mustard, pickle, or candy jar that has a cool shape? It’ll make a neat painted vase.
- Old soda or wine bottles. Instead of recycling, upcycle into an artful piece.
- Plain glass pitchers. Turn them into Greek-style amphoras to display on your bar or with fresh-cut flowers as a table centerpiece.
- Mismatched drinking glasses. They won’t be useful for drinking any more, but they will be elevated to art and display, or artful organization.
- Plant pots. Take the basic and boring to the next level and achieve the high-end white matte finish that’s in all the home décor magazines and HGTV shows.
Step 2: Prep the Surface by Washing the Vase or Jar
Thoroughly clean your glass items inside and out with regular soap and water. Use a cotton ball and rubbing alcohol to wipe down the surface if you have sticky residue. The paint will adhere better and more evenly to a clean surface, but some amount of leftover label is okay as the thick paint will cover it up. If you’re planning to paint a plastic or resin item instead of glass, use sandpaper to rough up the surface a bit to help the baking soda paint stick better.
Step 3: Mix Your Baking Soda And Paint
Add the 1 tablespoon baking soda to 1 cup of paint in a small container, preferably with a lid. Using a spoon or craft stick, mix thoroughly until the baking soda dissolves and you have a thicker, fluffier, mousse-like texture. Apply right away for best results.
Choose any color paint you like or mix several colors to create a custom blend. White paint will give the classic matte chalk finish, while salmon or coral will look more terracotta. Grays will make your item look like concrete.
Optional: for even more texture, add a teaspoon of coarse salt to your baking soda paint. And once you are done with your ARM & HAMMER™ Baking Soda container you can recycle here.
Step 4: Apply Your DIY Textured Paint to the Glass
Cover your working surface. Using a foam or bristle brush, dab the paint thickly onto the glass, using horizontal strokes if you’re going for the look of thrown pottery, or any stroke pattern you prefer. Try not to go back over painted areas that are still wet, as you can remove paint instead of adding it. You’ll be able to do a second coat shortly.
If you’re not achieving the texture you want, your paint may be too thin. Add more baking soda until it’s the texture you like best!
This paint dries very quickly so keep the paint covered between coats. Don’t paint the bottom of the glass vase this round; you can paint the bottom once the rest of the vase is dry and it can be laid on its side or updside down.
Step 5: Allow Paint to Quick Dry and Add Another Coat
Let your textured painted vase dry to the touch, about 30-40 minutes. If desired, apply a second – or additional – coats. The more paint coats you add, the thicker and more opaque the finish will be.
Turn your vase upside down and apply paint to the bottom once your sides are ready. You want to cover the bottom so the illusion is complete!
Step 6: Allow Paint to Cure Overnight
Before using your items, allow the paint to cure overnight for a more solid and thorough finish. If the vase is for decoration only, skip ahead to the next step if you like.
Optional: apply a matte finish sealer spray or leave it unsealed for a more vintage look.
Step 7: Decorate with Your Upscaled DIY Terracotta Vases

There are great places in your home to showcase your new creations. Try on top of kitchen cabinets, on floating wall shelves, on bookcases and entryway tables or gathered in groups in a window ledge display. Get creative and find nooks that needed dressing up with a piece of art!
More Baking Soda DIY Projects You Can Do
If you enjoyed this easy craft project with baking soda, try one of these other ideas for family fun or a creative outlet:


