1. How to Make a Spooky Lava Lamp

You can make a lava lamp any time of the year, but you can make it extra spooky for Halloween fun with the colors you choose or making it glow under a black light. Red gel food coloring will help your lamp look as if it contains drops of blood. Glow in the dark food coloring will create a fun effect for your black light bulb and other spooky décor. It’s easy to make again and again so you can try different combinations.
Ingredients & Supplies
- 3 tablespoons of ARM & HAMMER™ Baking Soda
- Vegetable oil
- Vinegar
- Food coloring of choice – try glow in the dark coloring for extra spooky fun
- Clean large empty bottle
- A smaller container – for more Halloween fun, try a round potion bottle
- Spoon or some item to mix with
Directions
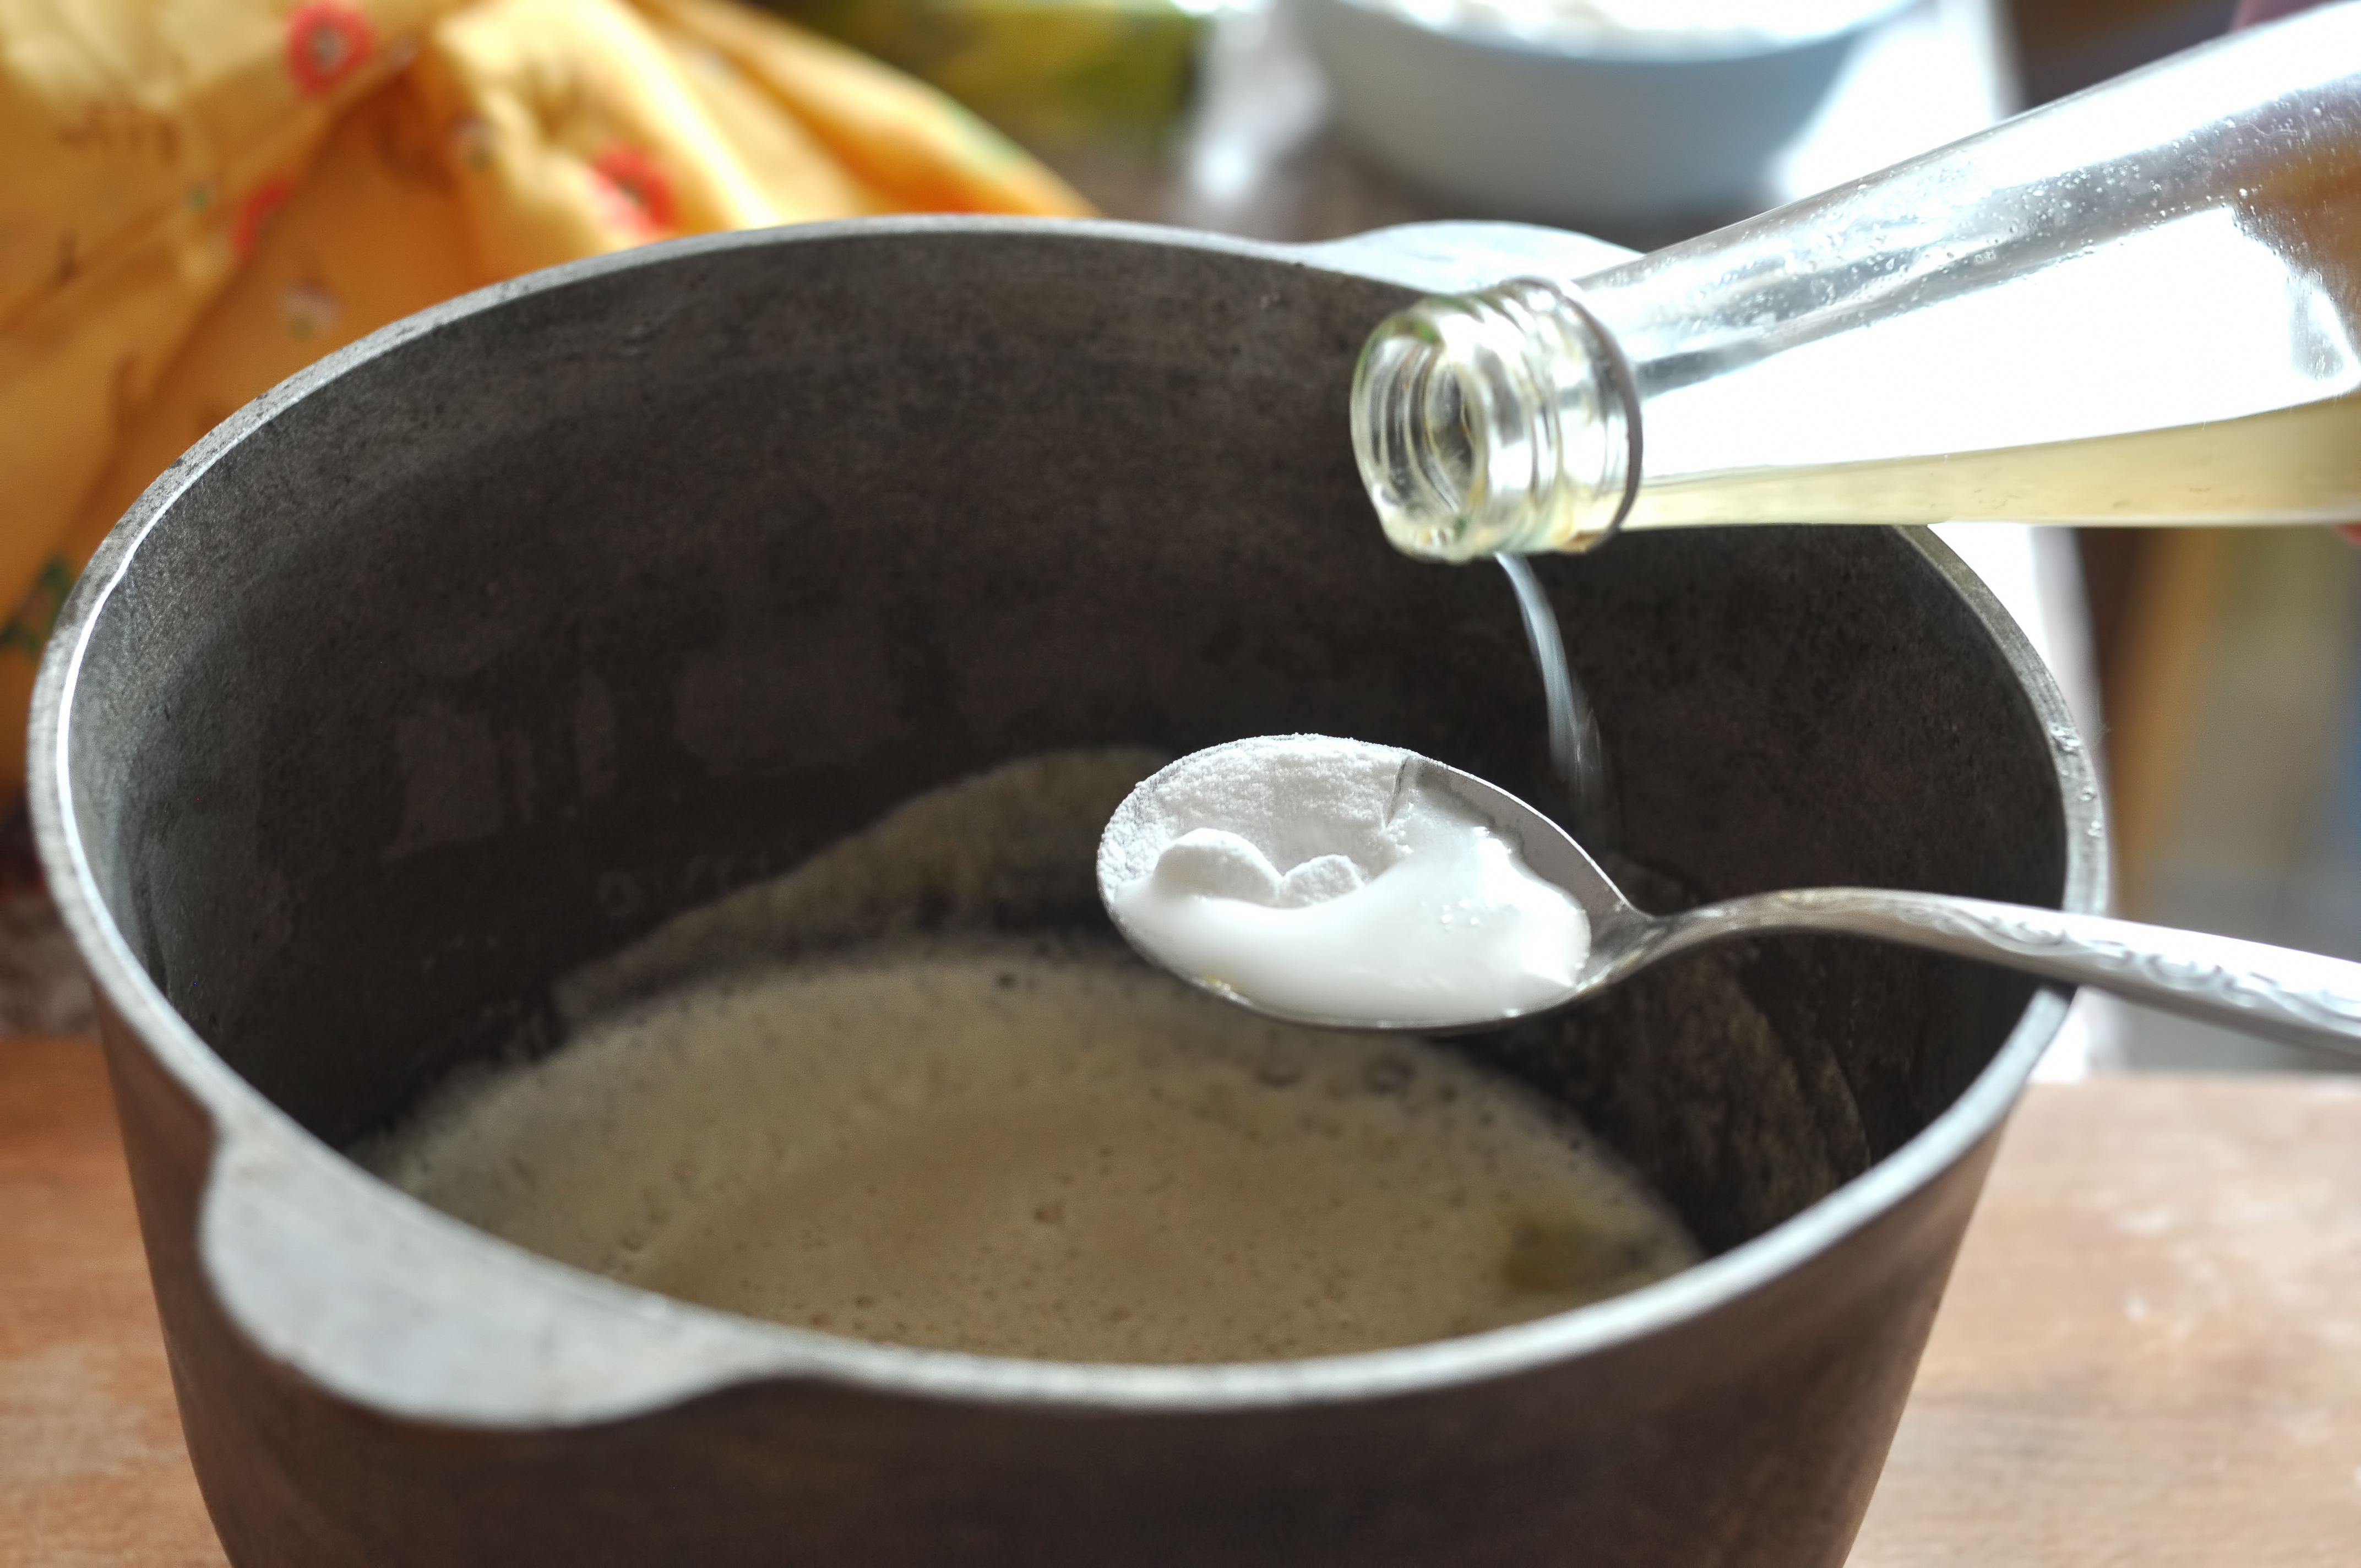
- Add 3 large tablespoons of baking soda to your large container. The larger the container, the easier it is to see the bubbles move around.
- Fill two-thirds of your container with the oil. Do not try to mix the oil in with the baking soda.
- Portion out enough vinegar to fill the last third of your large container and pour it to a smaller cup or container. Then, add three drops of your chosen food coloring.
- Slowly add the vinegar and food coloring mix to the large container and your lava lamp will bubble up and spring to action! The vinegar reacts with the baking soda to create carbon dioxide bubbles that float through the oil.
- Place it on the table with a UV black light nearby and marvel at your mad scientist creation!
- A smaller container – for more Halloween fun, try a round potion bottle.
- Spoon or some item to mix with.
2. Release Your Inner Ghostbuster by Making Glow-in-the-Dark Slime
“Who ya gonna call?” might be a Ghostbusters phrase at Halloween, but you don’t need to be a paranormal scientist to help your child get slimy. With ARM & HAMMER™ Baking Soda, you can create glow-in-the-dark slime that provides awesome and otherworldly fun for you and your child! Just hit the lights and let the oozing begin with this ectoplasmic slime.
Ingredients & Supplies
- 1 ½ tablespoons of ARM & HAMMER™ Baking Soda
- 12 oz. school glue (regular or glow in the dark)
- 2 or more tablespoons of saline contact solution
- Small plastic or glass storage container
- Washable glitter paint (optional)
- Beads, nonadhesive gemstones and glitter (glow-in-the-dark optional)
- Saline contact solution
Directions
- Pour all 12 oz. of glue into storage container.
- Add the 1 ½ tablespoons of baking soda to the container and stir.
- If you’re using it, add a few drops of the washable glitter paint until it turns the desired color.
- Add 2 tablespoons of saline contact solution. You can add more and eyeball when the slime gets the right consistency.
- Add beads, nonadhesive gemstones and glitter.
- Place your substance in “indirect” sunlight so you can maximize the glow. Try turning off all the lights after you have “charged” your slime!
3. Brittle Bones Become Skeleton Candy!
Skeletons are a staple at Halloween. Naturally, so are candies and sweets. Why not blend the two? With ARM & HAMMER™ Baking Soda, you can have a delicious hard candy that looks like a pile of broken bones. Use this fun Halloween activity when you want to turn your secret ingredient trick into a real treat!
Ingredients & Supplies
- 8-by-8 metal or glass baking pan
- Medium-sized saucepan
- Parchment Paper
- 2 teaspoons of ARM & HAMMER™ Baking Soda
- 1 cup granulated sugar
- 2 tablespoons honey
- ¼ cup corn syrup (or substitute more honey or Golden Syrup)
- ½ cup water
- Cooking thermometer (preferably candy thermometer)
Directions
- Line 8 x 8 pan with parchment paper.
- Add sugar to saucepan, followed by honey, corn syrup and lastly water.
- Cook your mixture over medium-high heat for 5-10 minutes. Cook until the mixture reaches 300ºF, checking temperature with thermometer.
- Remove the pan from the heat and add 2 teaspoons of baking soda then whisk for 5 seconds. The mixture should begin to bubble. Once the foaming stops, pour into your prepped 8 x 8 pan.
- Set aside and cool for an hour to allow to candy to harden. Break candy using hands or ask a grown up for help.
- Make a “bag of bones” by placing different piles of the candy into different receptacles.
4. Spin Webs and Bake Delicious Spider Cookies
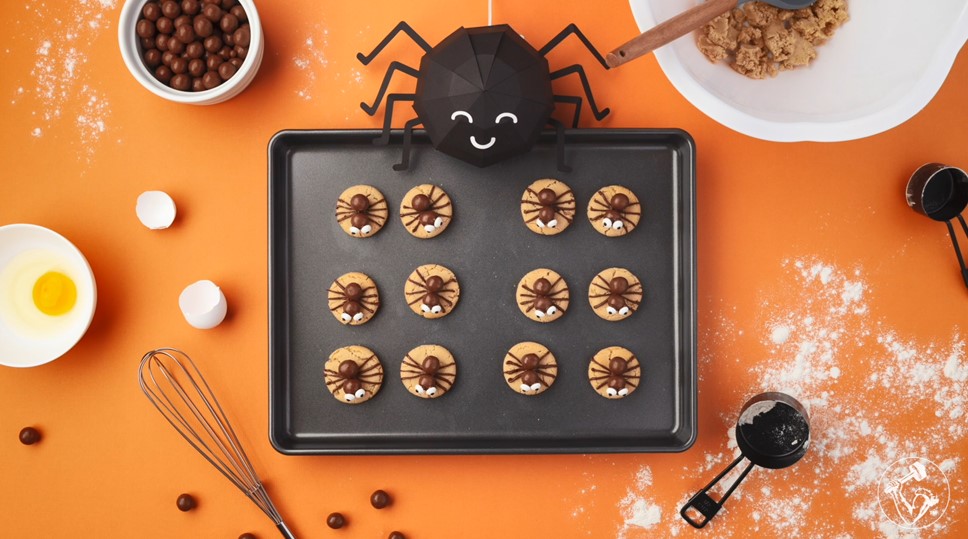
What’s Halloween without jack-o'-lanterns, hanging ghosts, and creepy spiders and their webs around tombstones and in every corner? Here are some not-so-spooky (and super yummy) spiders that are fun to make with preschoolers and delicious to eat for all ages this Halloween. Use pure ARM & HAMMER™ Baking Soda to get the proper snap in this recipe for googly-eyed spider cookies. They’re a spooky spin on peanut butter blossom cookies and are perfect for little ghouls and boys to make with their mummies or daddies!
Ingredients & Supplies
- For the cookie dough:
- ¾ teaspoon ARM & HAMMER™ Baking Soda
- ½ cup granulated sugar
- ½ cup packed brown sugar
- ½ creamy peanut butter
- ½ cup butter or margarine, softened
- 1 egg
- 1 ½ cups flour
- ½ teaspoon baking powder
- Extra granulated sugar
- Toppings
- 72 chocolate malted balls
- 72 candy eyes
- Melting chocolate
- Additional items
- Large mixing bowl
- Mixing utensil, ideally electric mixer
- Cookie sheet
- Cooling rack
Directions
- Preheat oven to 375ºF.
- In a large bowl, beat ½ cup (each) granulated sugar, brown sugar, peanut butter, butter and egg with spoon or electric mixer until well blended.
- Stir in flour, baking soda and baking powder until dough forms.
- Roll dough into 1-inch balls and coat them in the additional sugar. You should be able to form about 24-36 balls (cookies).
- Place balls 2 inches apart on ungreased baking sheet.
- Bake 8-10 minutes at 375ºF until edges are brown.
- Transfer cookies to cooling rack. Use a small utensil to put in indent in the middle of each cookie.
- Melt the chocolate.
- Once cooled, pipe chocolate dots in the indented spaces and place the malted milk balls on top of the dot.
- Add candy eyes with frosting and pipe legs to bring the spiders to life!
- Continue cooling and allow toppings to harden, then chow down!
5. Use Baking Soda to Create a Bubbling Witch’s Cauldron
Do you think that casting spells and bubbling cauldrons are a bunch of Hocus Pocus? Get instantly bewitched by cooking up a witches’ brew! You might not have the opportunity to jump on a broomstick and fly into the night sky, but you can still stir up a spooky blend with ARM & HAMMER™ Baking Soda. Not only is it fun, but this Halloween activity creates a great decoration for your trick-or-treaters.
Ingredients & Supplies
- ¼ to 1 cup of ARM & HAMMER™ Baking Soda
- ½ cup of white vinegar for each color you want to use
- Food coloring of choice (multiple colors)
- Several small plastic cauldrons (like those to hold Halloween candy favors) or other small containers for your brew. You can also use one large plastic cauldron for a single bubbling brew
- Small cups for each color
- Spoon
Directions
- Pour ½ cup vinegar into the small cups. Add a few drops of each food coloring to each cup.
- Add a teaspoon or so to your “cauldrons” or containers.
- Pour the vinegar and food coloring over the baking soda in each cauldron/container.
- Stir lightly for a larger eruption. Take care when mixing baking soda and vinegar as your cauldron may bubble over and don’t touch your eyes if you’ve touched your “witches brew.” Double, Double Toil and Trouble!
6. Turn Your Jack-o-lantern into a Puking Pumpkin!
What’s Halloween fun without a few squeals and shouts of “ewwww!” After you carve your jack-o-lantern, extend the activity and have some spooky fun by making your pumpkin look like it’s puking. Baking soda and vinegar are the basics for this oozy activity, but you can make your pumpkin vomit look even more gruesome by adding food coloring, plastic bugs or spiders, or chopped apples to make chunks.
Ingredients & Supplies
- Lasagna tray, cookie sheet or some kind of container to catch the reaction
- Pumpkin carved into a jack-o-lantern.
- ¼ cup of ARM & HAMMER™ Baking Soda, though use up to 1 cup (or more) for larger pumpkins
- ½ cup of vinegar or lemon juice per ¼ cup baking soda
- Food coloring of your choice
- Dish soap
Directions
- Clear out the guts and carve your favorite design into your pumpkin with a grown up help.
- Add baking soda directly to the bottom of the carved pumpkin.
- For a larger and foamier reaction, add a squirt of dish soap on top of baking soda.
- Add several drops of the food coloring to the vinegar or lemon juice. This will determine the color of your pumpkin barf.
- Finally, pour in the vinegar and watch your jack-o-lantern ooze everywhere! The more baking soda and vinegar you use, the more your pumpkin will puke. This is a good Halloween activity to do outside!
7. Fizzy Sensory Bins with a Halloween Spin
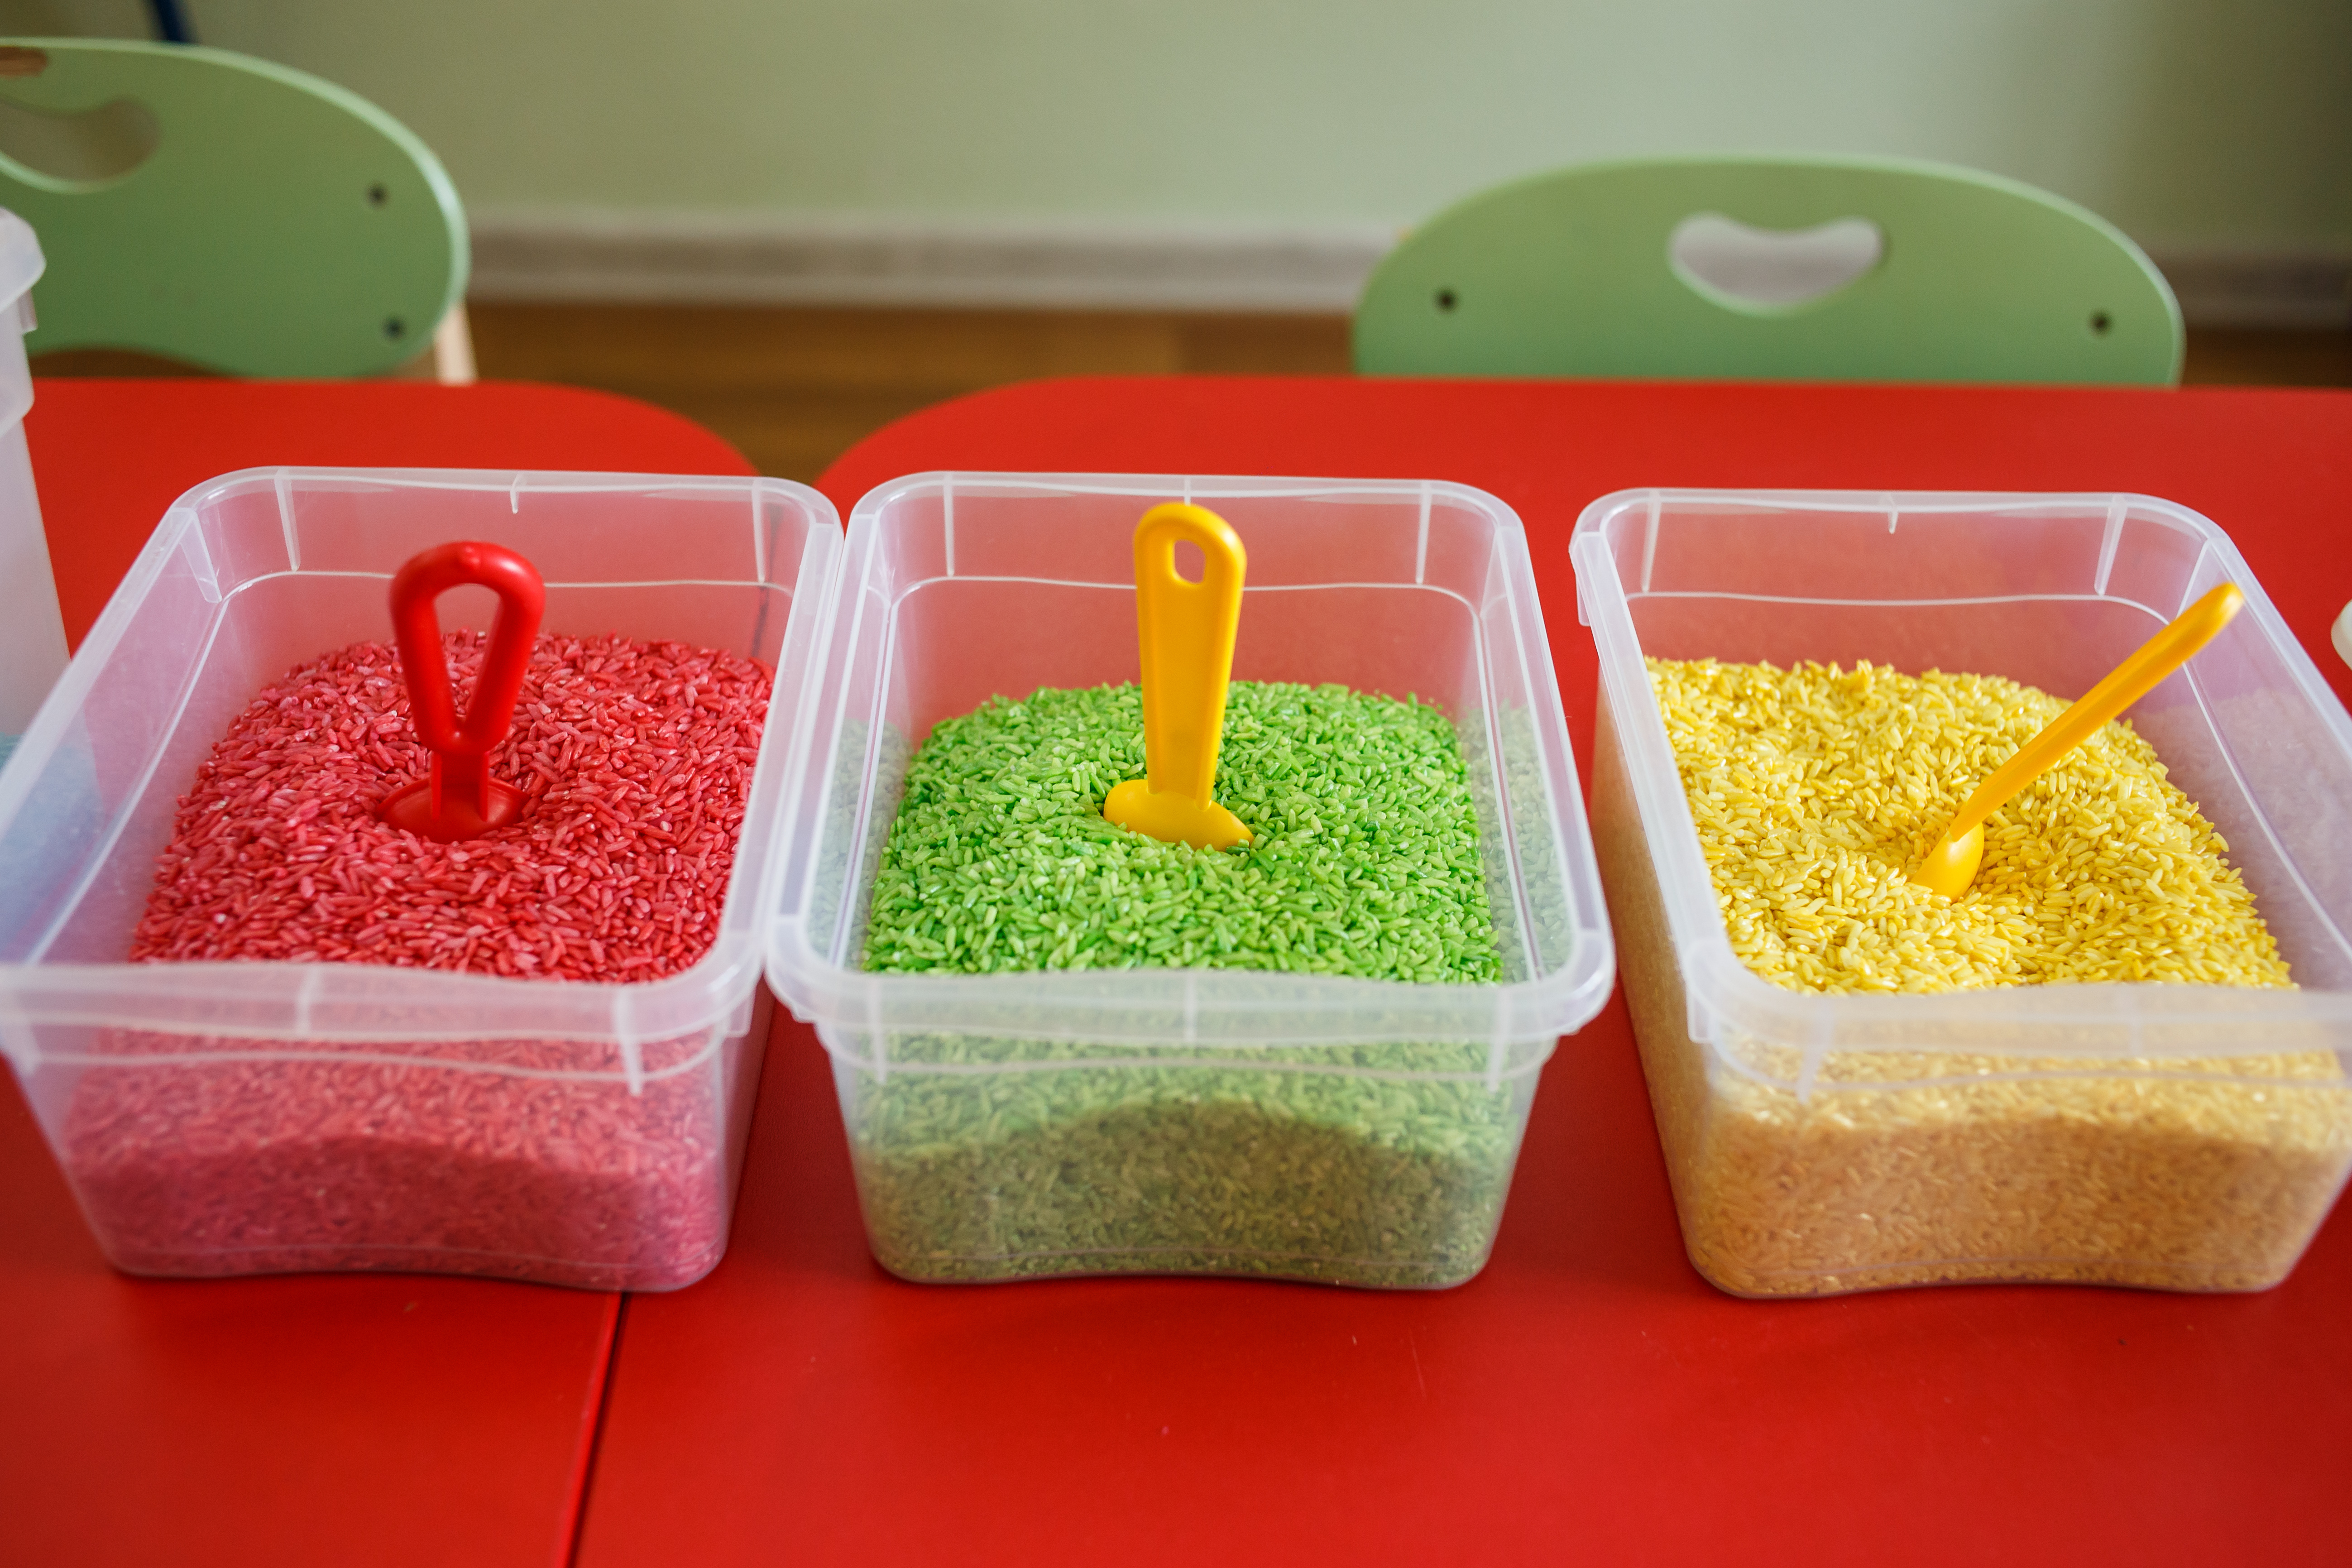
Looking for a fun Halloween activity that’s great for toddlers and preschoolers? Try your hand at a Halloween-themed sensory plan bin that’s extra fun with bubbles and fizz. Little minds and hands will love watching the toys pop to the surface and to feel the carbon dioxide bubbles tickle their fingers.
Ingredients & Supplies
- Large plastic container that is shallow enough for kids to reach into but tall enough to cover the toys and hold the liquid
- 1 cup of ARM & HAMMER™ Baking Soda
- 1 cup of white vinegar
- Food coloring: You might want to choose one color in order to prevent mixing, otherwise you can add smaller containers (for each color) to your list of materials.
- Plastic spiders, pumpkins and other Halloween-themed figurines
- Turkey baster
Directions
- Place the Halloween toys at the bottom of the bin.
- Pour baking soda directly over the toys. Spread and cover thoroughly to “bury” them.
- Choose a few locations for your food coloring and add drops accordingly.
- Slowly pour in the vinegar and wait for your toys to bubble up toward the top of the bin!
- For a greater reaction and more vibrant colors, add more baking soda and vinegar.
- Let little fingers explore!
8. Become a Potions Master with Baking Soda
Put on your wizard school robe and head down to your “dungeon” for potions class. Start mixing your vampire or werewolf repellant potions before Halloween arrives and the monsters come out to play.
Ingredients & Supplies
- If you have a cauldron or “skull” glass, go with that! Otherwise, any larger cup will do just fine
- At least 1 tablespoon of ARM & HAMMER™ Baking Soda
- ¾ cup of vinegar
- Multiple food colorings
- Separate cup or small container for mixing vinegar and food coloring
- Some kind of cookie sheet or pan to catch some of the foaming over
Directions
- Add 1 tablespoon baking soda to your cauldron or glass of choice.
- In your small cup or container, measure out ¾ cup of vinegar and add a few drops of food coloring.
- Add the vinegar and food coloring to the baking soda for your performative potions to come to life.
- Give high marks to your wizard school students!
9. Make Classic Caramel Corn with Baking Soda for a Halloween Treat
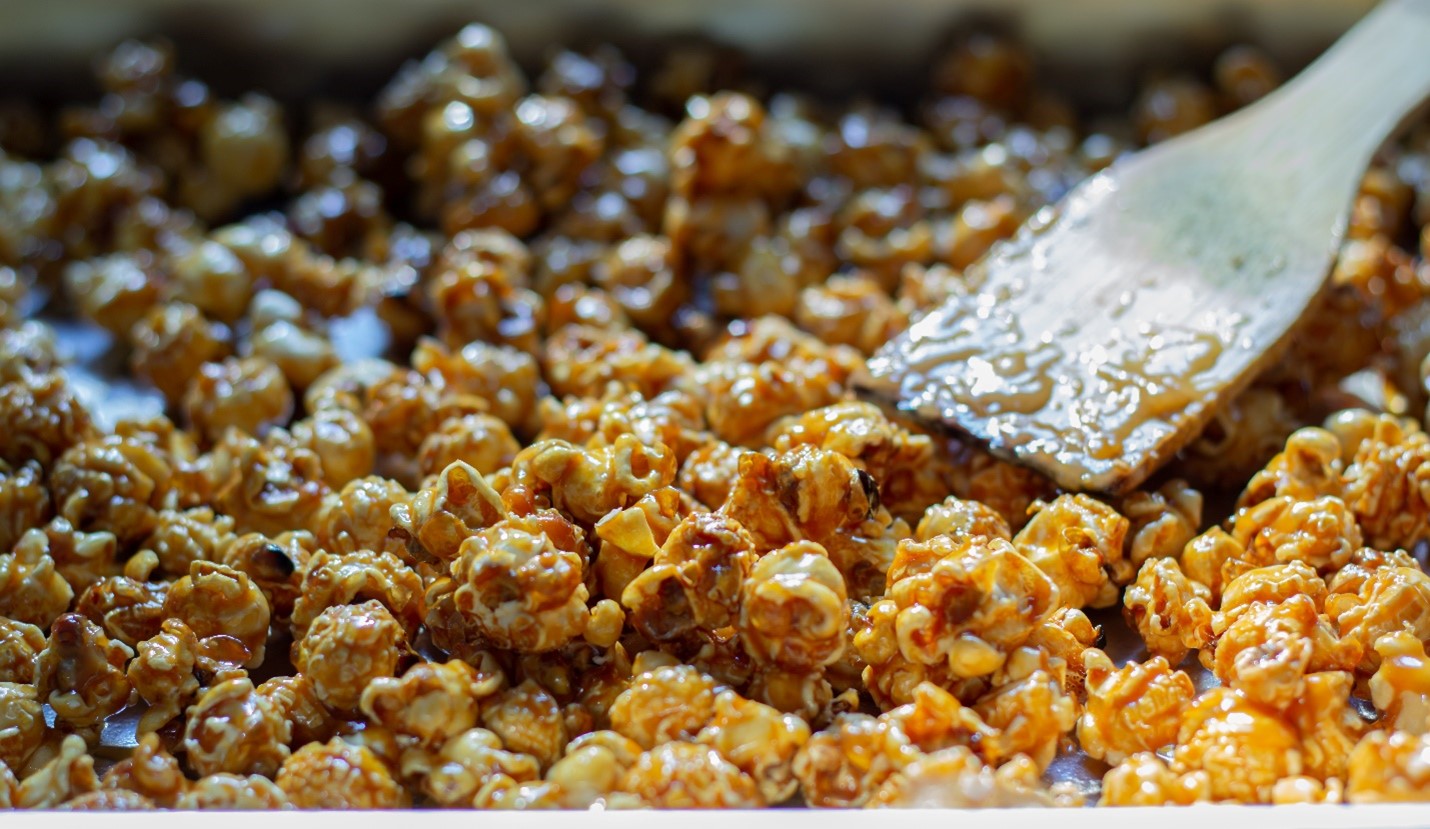
Autumn and Halloween are full of the tastes of apples, pumpkin and caramel. With a few simple ingredients, you can make this classic caramel corn recipe at home that will taste like you got it at a carnival. Enjoy handfuls of this sweet snack or mold the caramel corn into balls for individual portions that can be given as Halloween treats. Baking soda is your secret ingredient to ensure your caramel is soft and buttery and melt-in-your-mouth. Here’s how.
Ingredients & Supplies
- 5-6 quarts of air-popped popcorn
- ¾ cup of molasses
- 2 cups of white sugar
- 1 teaspoon of butter
- ½ teaspoon of vinegar
- ¼ teaspoon of ARM & HAMMER™ Baking Soda
- 4-quart pan
- Thermometer (cooking, candy)
Directions
- Add ¾ cup of molasses, 2 cups white sugar, 1 teaspoon of butter and ½ teaspoon of vinegar to 4-quart pan. Mix together and bring to boil, stirring constantly to keep crystals from forming on the sides of the pan.
- Clip your candy thermometer to the side of the pot and continue stirring until the mixture reaches 234°F.
- Remove from heat and stir in ¼ teaspoon of baking soda. Mixture will foam!
- Pour popcorn into the pan and stir to coat.
- Let cool and enjoy!
10. Halloween Pumpkin Pancakes
This Halloween season, treat your hungry witches and werewolves to delicious homemade pumpkin pancakes. Baking soda and buttermilk create fluffy yummy flapjacks that melt in your mouth and the pumpkin spice screams the season. For extra fun, make your pancakes into Halloween shapes, like jack-o-lanterns and cat heads, or keep them round like the full moon. Parents: this is a great family cooking activity to do together with your kids.
Ingredients & Supplies
- 1 ¼ cups all-purpose flour
- ¼ cup sugar
- 2 tablespoon light brown sugar
- ½ teaspoon ARM & HAMMER™ Baking Soda
- 1 ½ teaspoons pumpkin pie spice
- ¼ teaspoon kosher salt
- 1 ¼ cups buttermilk, divided
- 2 eggs
- ¼ cup unsalted butter, melted
- 1 tablespoon maple syrup
- ¾ cup canned pumpkin
- ¼ cup chopped pecans (optional)
- Butter and maple syrup for serving
Directions
- (Optional, if adding nuts to recipe) Melt one tablespoon of unsalted butter in a skillet over medium heat. Add a dash of pumpkin pie spice and pecans. Cook until lightly toasted and chop. Set aside.
- In a large bowl, whisk together flour, sugars, ARM & HAMMER Baking Soda, pumpkin pie spice and salt.
- In a liquid measuring cup, add 1 cup buttermilk, eggs, melted butter, and maple syrup. Whisk to combine.
- Add wet ingredients to dry ingredients; stir to combine but do not overmix.
- In the same measuring cup add remaining ¼ cup buttermilk and canned pumpkin and mix well. Fold into batter.
- Let batter rest for about 5 minutes while you heat your griddle or skillet.
- Melt butter onto the cooking surface, spreading evenly. Kids: ask your parents for help with this part and the next!
- Pour the batter onto the griddle or frying pan. The pancakes are ready to flip when they start to look drier around the edges and start to form bubbles (about 1-2 minutes). Flip and cook on the other side until golden brown and completely cooked through–about another 1-2 minutes.
- Serve topped with butter, maple syrup, whipped cream and spiced pecans if desired and enjoy!
Baking Soda Activities Beyond Halloween